


How to Install Seat Covers for a Secure Fit
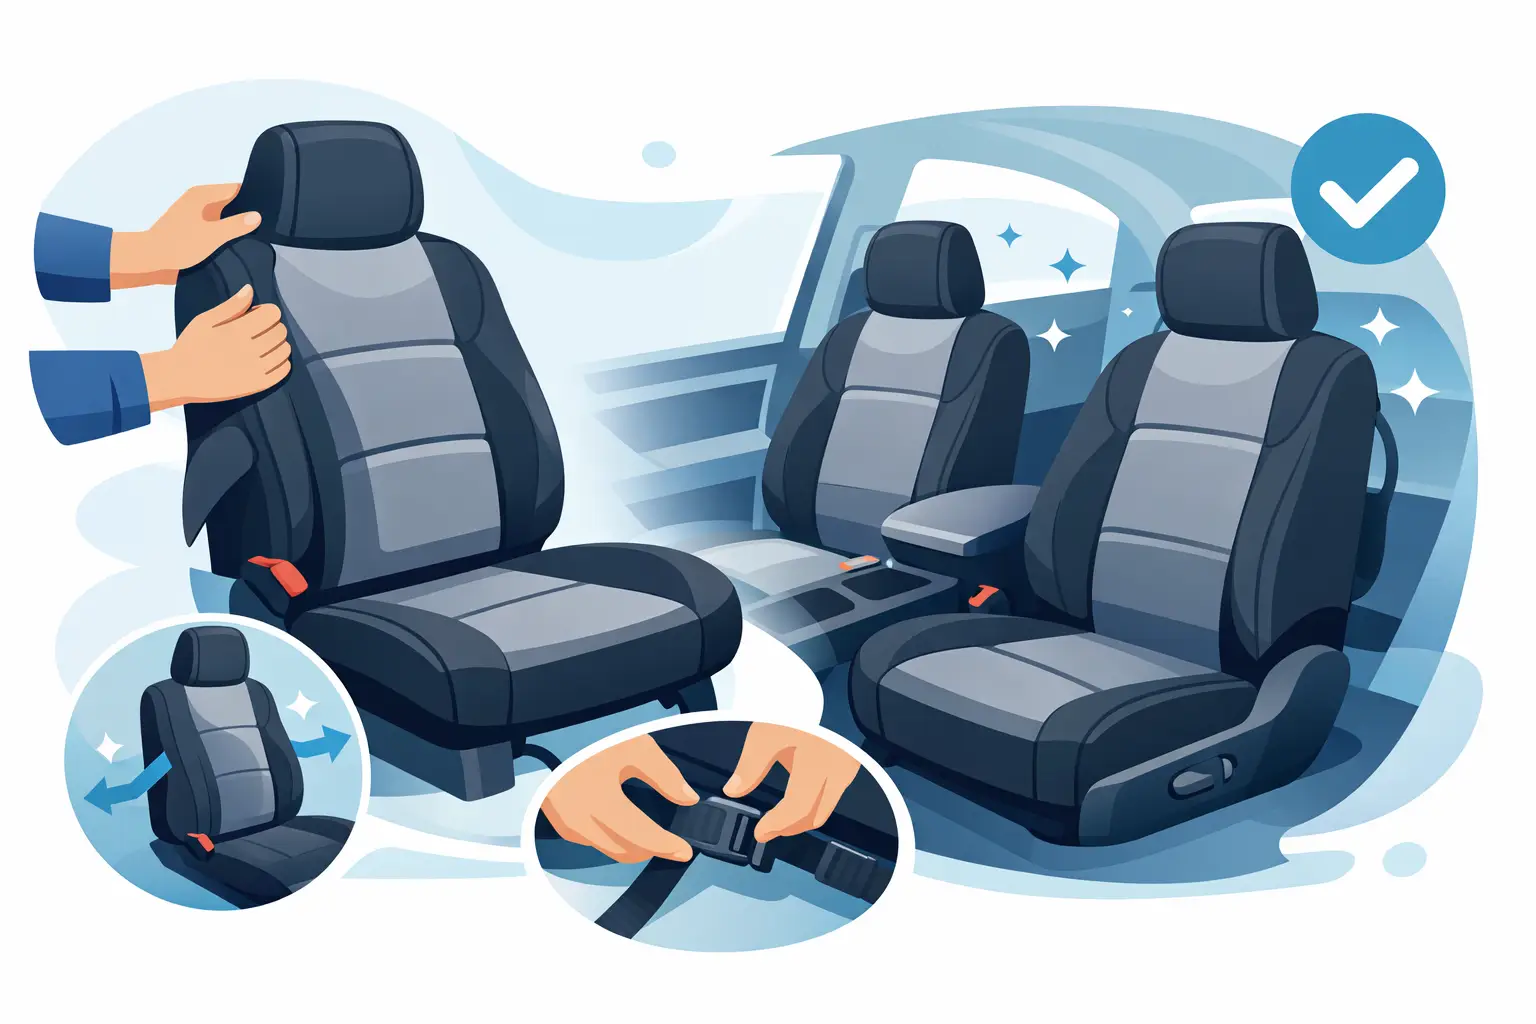
A new set of seat covers can make an older interior look cared for again before you spend money on professional detailing. They also help protect factory upholstery from coffee spills, pet hair, work clothes, sun exposure, and everyday wear. Knowing how to install seat covers correctly matters because a loose cover can bunch up, slide under you, block a seat adjustment, or interfere with an airbag-equipped seat.
Most installations are straightforward and can be done in a driveway or garage with a little patience. The key is starting with covers that match your vehicle’s seat style, then securing every strap and attachment point before you drive.
Before You Install Seat Covers
Start by confirming whether your covers are universal, semi-custom, or vehicle-specific. Universal covers are an affordable choice and fit many common seat shapes, but they may leave small gaps or require more adjustment. Vehicle-specific covers generally cost more, yet they are designed around your seat contours, headrests, armrests, split-bench sections, and seatbelt openings for a cleaner result.
Check the product instructions before opening every package. Front and rear pieces may look similar, and some sets include separate headrest covers, center-console pieces, armrest covers, or hardware. Lay everything out on a clean surface and identify the driver-side and passenger-side covers first.
You will usually need only a few basic items: the seat covers and included hooks or straps, a flashlight for seeing under seats, and a plastic trim tool if you need to gently guide a strap through a tight gap. Avoid sharp tools that could tear the cover, damage upholstery, or cut wiring beneath the seat.
Before fitting the covers, remove loose items from the vehicle and vacuum the seats. Clear crumbs, coins, pens, and debris from the creases. This takes only a few minutes, but it helps the covers sit flat and prevents hard objects from creating uncomfortable pressure points.
Check for Side Airbags and Seat Features
Many modern vehicles have side airbags built into the outer edge of the front seatback. If your vehicle has this feature, use only covers clearly labeled as compatible with side airbags or designed with the required tear-away opening. Do not cover, sew over, pin, or tightly cinch the airbag deployment area.
Also look for powered seat controls, heated-seat connections, lumbar-adjustment knobs, rear-seat release levers, and seatbelt buckles. A well-fitted cover should leave every control accessible. If a cover blocks a required function or does not align with your seat’s airbag area, stop and choose a more suitable design.
How to Install Seat Covers on Front Seats
Front seats are usually the easiest place to begin. Slide the seat all the way back, recline it slightly if needed, and raise the headrest to give yourself room to work. If the headrest removes, press the release button and set it aside. Do not force it if your vehicle’s headrest is fixed.
Place the seatback portion of the cover over the top of the seat and pull it down evenly. Work from side to side rather than pulling hard on one corner. Align the seams with the seat edges, paying attention to any openings for a headrest, armrest, or side airbag. The cover should follow the shape of the seatback without twisting.
Next, pull the lower portion over the seat cushion. Tuck the center flap into the space between the seatback and cushion, often called the seat crease. This flap helps keep the cover from shifting forward when you sit down. A plastic tuck tool can help, but your fingers are often enough.
Reach beneath the seat to locate the attachment straps. Most covers use elastic straps, S-hooks, buckles, or hook-and-loop fasteners. Connect the straps according to the instructions, keeping them away from seat tracks, power-seat motors, wiring harnesses, and moving components. If a strap could snag as the seat slides, reroute it or use another approved anchor point.
Tighten each strap gradually. Pulling one strap to its limit before securing the others can make the cover sit unevenly. Instead, adjust them in small increments until the cushion is smooth and the cover feels stable. Then move the seat fully forward and backward to make sure nothing catches underneath.
If your set includes headrest covers, install them last. Pull each one over the headrest, align the seams, and fasten the closure underneath or at the back. Reinstall the headrest securely and confirm it locks into place at the proper height.
Installing Seat Covers on Rear Seats
Rear-seat installation depends on the vehicle. Some covers fit over the seat without removing anything, while others require lifting the bottom cushion or folding down seatbacks. Take a moment to understand your rear-seat configuration before you start, especially if you have a split 60/40 bench, pass-through section, built-in armrest, or child-seat anchors.
For a simple rear bench, begin with the lower cushion cover. Pull it over the front edge of the cushion and work it toward the back. Tuck any anchoring panels into the gap between the cushion and seatback, then secure the straps beneath the seat where accessible. Keep seatbelt buckles fully exposed and easy to reach.
Install the rear seatback cover next. If the seatbacks fold down, fold them forward and slide the cover over each section individually. Make sure split sections can still fold independently after the cover is attached. If there is a center armrest or cupholder, find the matching opening and align it before tightening any straps.
Some rear cushions release by pulling upward at the front edge; others are bolted in place. Do not remove a seat cushion unless your vehicle manual and the seat-cover instructions indicate that it is appropriate. If installation feels like it requires excessive force or major disassembly, a different cover style may be the better choice.
Keep Child-Seat Anchors Accessible
If you use child safety seats, locate the LATCH anchors and top tether points before finalizing the fit. Seat covers should not hide these anchors or make it difficult to attach a child seat correctly. A cover with designated openings is preferable to cutting a hole yourself, particularly when the material could fray or weaken.
Smooth, Secure, and Test the Fit
Once every piece is installed, sit in each seating position and shift your weight around. The cover should stay in place without pulling loose at the corners. Smooth wrinkles from the center outward, then retighten straps if the fabric loosens after you sit down.
Check the seatbelt buckles, headrest adjustment, recline lever, seat tracks, and rear-seat folding function. For front seats, verify that you can reach all power controls and that no material sits over airbag labels or deployment seams. Take a short drive and listen for hooks or buckles tapping against plastic trim. Small adjustments now can prevent annoyance later.
A few signs of a good installation are easy to spot: the cover lies flat across the cushion, the seams follow the seat shape, the straps are hidden and secure, and every safety feature remains usable. A little bunching can be normal with universal covers, especially around contoured bolsters, but constant sliding usually means the straps need more tension or the fit is not right for the seat.
Care Tips That Help Covers Last
Follow the care label for your specific material. Fabric covers often benefit from regular vacuuming and spot cleaning, while faux leather and leather-look covers can usually be wiped down with a soft, damp cloth. Avoid harsh cleaners, bleach, and heavy oil-based products unless the manufacturer specifically approves them.
Recheck straps after the first week of use. New covers can settle into the seat foam, making a minor retightening worthwhile. If you transport pets, work outdoors, or have children in the vehicle, this quick check can keep the covers looking neat and the original upholstery protected.
Choosing the right fit makes installation faster and the finished look more polished. Whether you need practical protection for a daily driver or a fresh interior upgrade, Vespena makes it easier to shop seat-cover styles that suit your vehicle, budget, and routine.













Leave a comment