


Vehicle Body Kit Installation Steps That Work
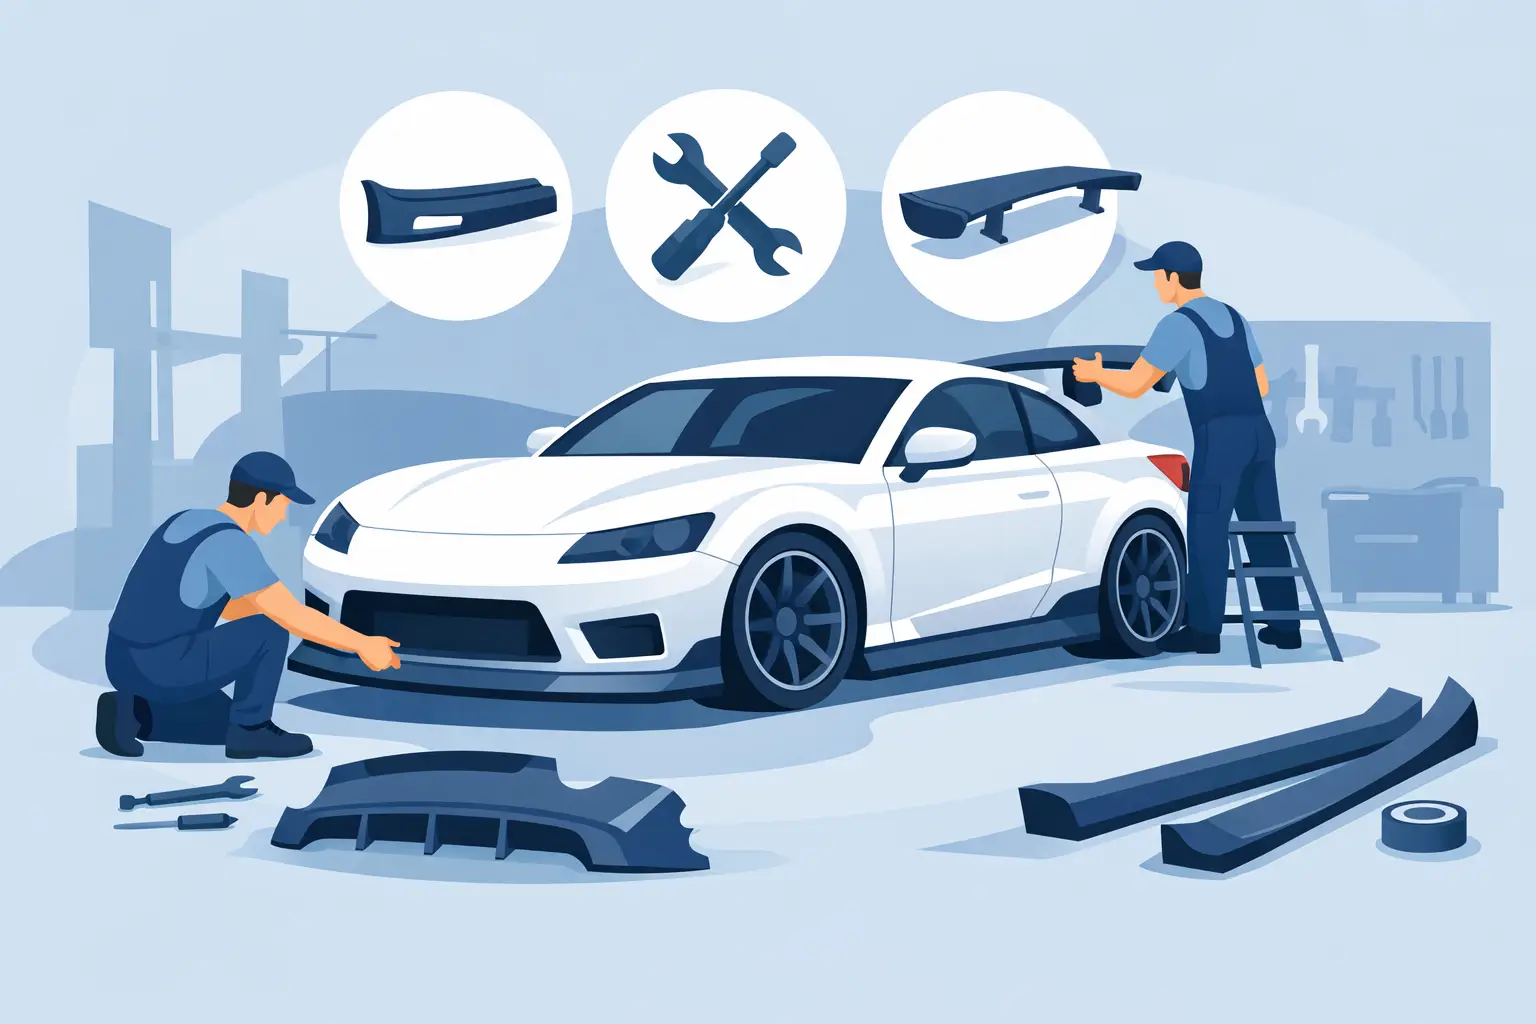
A body kit can change the whole look of a car, but poor fitment shows up fast. Gaps, uneven lines, rubbing, and loose panels can turn a style upgrade into an expensive headache. That is why getting the vehicle body kit installation steps right matters just as much as choosing the kit itself.
For most drivers, the smartest approach is to treat installation like a fitment project first and a styling project second. Even a well-made front lip, side skirt, rear diffuser, or full kit may need prep, test fitting, and minor adjustment before final mounting. If you want a cleaner result, fewer surprises, and less wasted time, start with the basics and work in order.
Start with the right kit and realistic expectations
Not every body kit installs the same way. Some parts are designed as direct bolt-on replacements, while others rely on screws, clips, adhesive tape, or a mix of hardware. Material also changes the process. ABS plastic is usually easier for mainstream buyers to handle, while fiberglass may need more sanding, trimming, and patience.
This is also where expectations need to stay realistic. A budget-friendly kit can still look great, but it may require more prep work than a premium option. If your vehicle has prior body damage, aftermarket bumpers, or slightly misaligned panels, installation gets more complicated. The part may not be the problem. Sometimes the car itself needs correction before the new pieces will sit properly.
Pre-install checks before any hardware goes on
Before you drill, tape, or tighten anything, inspect every component out of the box. Lay the pieces on a soft surface and compare them with your vehicle. Look for cracks, shipping damage, missing hardware, and left-right part labels if the kit includes mirrored pieces.
Clean the installation areas thoroughly. Dirt, wax, and road film can weaken adhesive and make panel alignment harder to judge. A basic wash is not always enough. Use a surface-safe cleaner where the kit will mount so tape and fasteners have the best chance of holding.
It also helps to gather tools before you begin. Depending on the kit, you may need screwdrivers, socket tools, trim removal tools, painter’s tape, a drill, measuring tape, alcohol wipes, and a heat gun for adhesive-backed sections. Having everything ready keeps the work moving and reduces rushed decisions.
Vehicle body kit installation steps before final mounting
The most important of all vehicle body kit installation steps is the dry fit. Hold each part in place without committing to final attachment. This lets you check alignment at corners, wheel arches, door openings, and factory body lines.
Painter’s tape is useful here because it can temporarily hold edges and help you step back for a full view. Do not judge fit from one angle. Look at the front, sides, and rear, and check panel height from a low angle as well. Small mismatches become obvious once the car is back on the road.
If a piece seems slightly off, do not force it immediately. Reposition it, confirm you have the correct side, and compare mounting points. Some kits need minor trimming or hardware slot adjustment. That is normal on many aftermarket parts. What you want to avoid is locking one end down too early and creating tension across the rest of the panel.
Marking, measuring, and protecting the finish
Once the dry fit looks right, mark reference points. Use low-tack tape to outline the panel edges or note hole locations. This gives you a guide when the part comes off for final prep and reduces the chance of mounting it crooked on the second attempt.
Be careful around painted surfaces. Sliding a rough-edged fiberglass part across a fender or bumper can leave scratches before the install even begins. A soft towel, extra tape barriers, and slow handling make a difference. If the kit is being painted before installation, test fit first. That saves you from drilling or trimming a freshly finished panel later.
This stage is also the time to confirm clearance. Open doors, check wheel turning range, and make sure side skirts or lips are not interfering with splash guards, mud flaps, or parking sensors. A part that looks centered while the car is parked may still rub once steering or suspension travel comes into play.
Mounting the kit the right way
When final installation starts, work from the center of a panel outward whenever possible. That helps keep tension even and reduces waviness or lifted corners. If the kit uses both tape and screws, apply the adhesive carefully and then secure the hardware in a sequence that keeps the part aligned.
Do not overtighten. This is one of the most common mistakes, especially with plastic and fiberglass components. Too much torque can crack material, distort the shape, or pull the panel unevenly against the body. Tight is good. Forced is not.
If you are using automotive-grade double-sided tape, surface prep is everything. The panel and vehicle surface should be clean and dry, and light heat can help tape bond better in cooler conditions. Press firmly and evenly. Once adhesive sets, repositioning is much harder, so take an extra minute before removing backing strips.
For screw-mounted or rivet-mounted sections, measure twice before drilling. A clean, well-placed mounting point matters more than speed. If the kit includes brackets, install them loosely first, align the part, and then tighten gradually. That gives you room to correct small fitment issues before everything is locked in place.
Installing common body kit pieces
Front lips and bumper add-ons usually require the most attention because they sit low and face wind, water, and road debris. Make sure the center section is aligned first, then secure the outer ends. If one side is attached before the center is positioned, the lip can twist or leave visible gaps.
Side skirts need straight visual lines. Stand a few feet back and compare both sides before drilling final holes. A skirt that is secure but slightly tilted will be noticeable every time you approach the car.
Rear diffusers and bumper extensions often involve factory clips, underbody fasteners, or a combination of hardware and adhesive. Watch exhaust clearance and heat exposure. Parts mounted too close to hot components can warp over time, especially lower-cost materials.
Fender flares are a separate case because they affect wheel-arch appearance and sometimes tire clearance. If your vehicle has larger wheels or suspension changes, check travel and turning clearance carefully. A flare that fits at rest may still create problems during real driving.
After-install checks that save trouble later
Once everything is mounted, do not call the job finished yet. Recheck every fastener, edge, and seam. Press along taped sections to confirm adhesion and look underneath the vehicle for loose hardware or unsupported areas.
Then do a short, careful drive. Listen for vibration, rattling, or tire contact. Check again after the drive because some issues only show up once the vehicle moves at speed or goes over bumps. Catching a loose corner early is much cheaper than replacing a damaged panel later.
Weather matters too. If adhesive is part of the installation, give it proper cure time before washing the car or driving in heavy rain. The exact window depends on the product and temperature, but rushing this step can weaken the bond and shorten the life of the install.
When DIY makes sense and when it does not
A simple front lip or side skirt install can be a manageable weekend job for many drivers. If the kit is designed for your exact model and uses straightforward mounting points, DIY can save money and still deliver a strong result.
A full kit, on the other hand, may be better left to a professional if trimming, drilling, paint matching, or panel correction is involved. The trade-off is simple. DIY lowers labor cost, but professional installation can reduce risk, especially on expensive or harder-to-fit materials. The right choice depends on your tools, time, and comfort level.
If you are shopping for appearance upgrades, it helps to buy from a retailer with wide fitment options, clear product details, and easy ordering. That is where a broad automotive selection can save time, especially if you want to compare styles, materials, and vehicle-specific accessories in one place.
A body kit should make your vehicle look sharper, not create a list of repairs. Take your time, fit everything before final mounting, and let precision do the heavy lifting.


Leave a comment